Image gallery
eXelearning has updated how images are displayed. Clicking on one of them, it will be enlarged, showing the name of it and some miniatures of the rest of the gallery.
Use this iDevice to show an album of images, initially in miniature format. Clicking on any of the images in the gallery will open an enlarged sample and the possibility of navigating between the different images in the gallery.
When selecting the iDevice "Gallery of images" of the list of iDevices this will be shown in your eXeLearning:

Add images from the Add images button.
Once the first one is added, you can continue adding, deleting and moving from the buttons below each of them. Remember to write a descriptive text for each one.
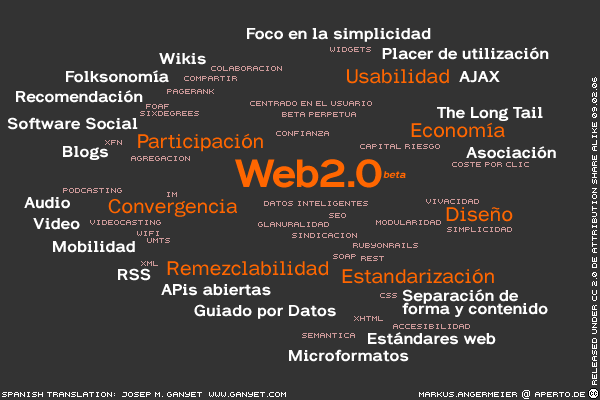
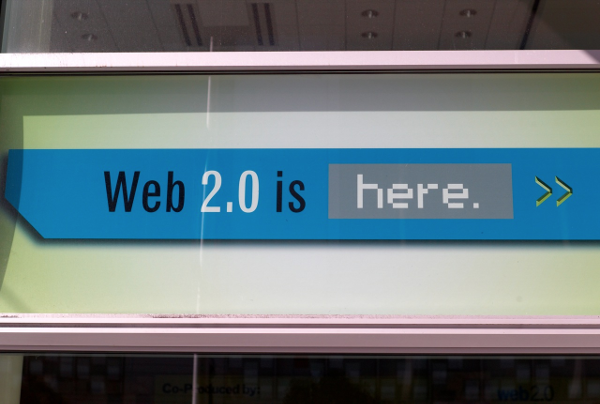
Example of an image gallery: Web 2.0
Practice eXeLearning: create a gallery of images
Try the following procedures:
- Open the file myfile2.elp that you created in the previous activity (You can double click on it).
- Search for images with a Creative Commons licenseand download them to a folder on your computer.
- Create an iDevice "Gallery of images" in the node "Information". Change your title
- Add the fyour images you have previously downloaded. For each of them write a small descriptive text.
- Once finished, click on the button
 to see the result.
 - Save the changes. (File> Save)
If you have any questions you can check the following video:
eXeLearning. iDevice Image gallery. (CC by)
Licensed under the Creative Commons Attribution Share Alike License 4.0